Making a Pinwheel.

Here is a simple fun project for all the family. Its also a good project that is hands-on for children to help them grow in skills and confidence.

A Pinwheel is that little windmill type toy on a stick. You blow on it and it spins, you run with it and it spins fast, and the wind blows on it and it spins fast with the speed of the wind.

Tools that you will need are shown in Image 1. A pencil/pen, a felt pen/Marker, a ruler, scissors, sticky tape, and thin card or paper (I used paper), and if you wish colouring pencils or paint for colouring in your pinwheel.

Image 1

I did two examples, one at 4 inches and another at 10 and a half cm. Check Image 2.

Image 2

Once your square is measured and cut out it should look like Image 3.

Then from corner to corner as shown in Image 3 draw a line making a big cross.
Next add a darker cross in the center roughly around the same size as I did.

Image 3

Next use the scissors to cut a line from each point to the end of the dark lines.

Now, fold each point over as is shown in Image 4.
I cut some small bits of sticky tape and then stuck them to the tips and then when I folded over (don’t bend or press down) the tip I stuck it to the center with the small bits of tape a is seen in Image 4.

The rounded look of the bend (At point “A” in Image 4) is what catches the wind, please don’t flatten the paper.

Stick down all the points to the center carefully as is shown in Image 5.

Image 5
Image 6

Your Pinwheel should look like the one in Image 5.

Now carefully take a pin (Drawing pin) and push it through the center making a hole. Now pin the whole Pinwheel to a stick of some sort. I used a pencil.

If children are going to use the Pinwheel using a non-pointy stick is a better and safer idea.

When you push the pin into the center of the pinwheel make sure that it is all the way through leaving plenty of pin free so that the pinwheel does not touch the wood of the still thus allowing it to turn freely as shown in Image 7.

Image 7
Image 8

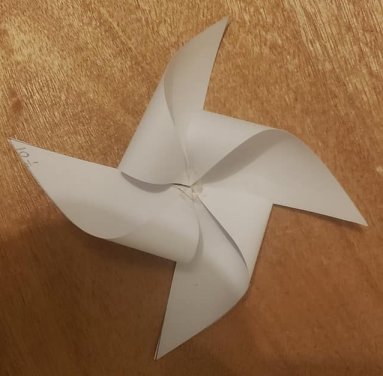
Image 8 should be what your Pinwheel should look like as a finished product.

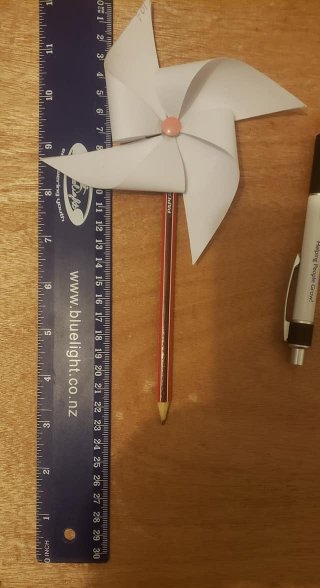
Pick it up and blow on it. If it does not spin the paper/card may be touching the wood so please make sure that the Pinwheel spins freely.

Things you can do is experiment with different coloured paper.
Different paper thickness’.
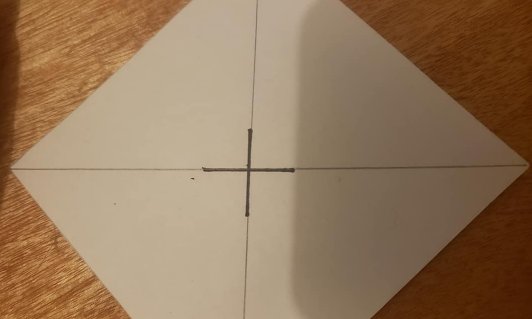
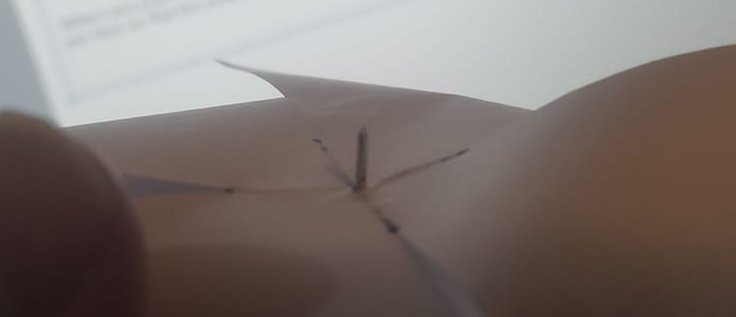
Colour the Pinwheel at the stage of Image 3, you can colour each part a different colour making the Pinwheel bright and cheerful looking.

I hope you enjoyed making the Pinwheel.

All the best from
James M Sandbrook.

30th of March, 2021.