
Adding a Switch to a Beacon.
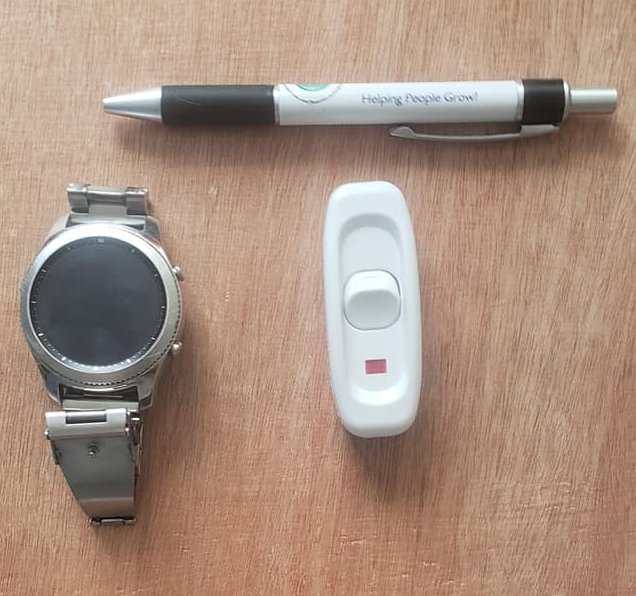
Above is the switch . It cost about $6.
Make sure that you get a switch that can handle the load for
which you intend to use it for

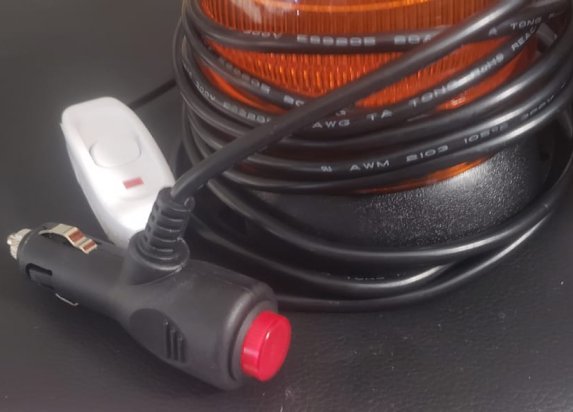
Above is the Beacon.
It has no switch, only the Cigarette Lighter plug, and that is very tight and that makes it a struggle to get the Plug in to get the Beacon flashing.
To pull it out is also a struggle, and if it is left halfway in it can activate with the moment of the vehicles vibrations.
This Beacon has many different flashing modes and that is what probably makes it attractive to buy, but it would have been nice if they had added a switch to turn it on and off so that it didn’t have to be pulled out and pushed in to activate it.
I have noted that there is a still mode and a off mode but once has to scroll through many modes to find them, a simple on off switch would have made a huge difference.
The Project here is to add the switch to make the Beacon more useful and also safer to use when my workmates and I are out on security patrol.
I cut the wire, found 4 wires, 2 more than expected.
The black wire is Earth, the Red wire is positive and the other two wires are for the modes and switching, they just needed to be reconnected.
This is my first time working on a Multi-mode Beacon so the extra two wires were unexpected but not a problem.
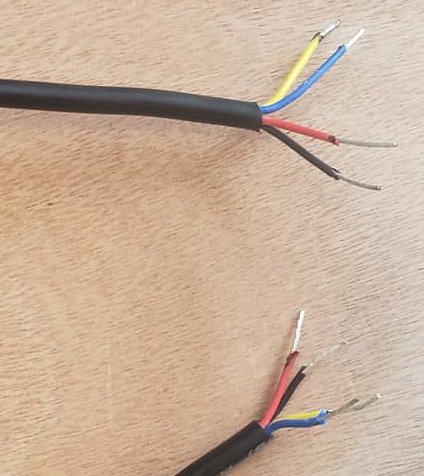
After the Black and Red wires were cut the insulation had to be removed from the end of each wire so that it can be connected to the switch.
Each wire twisted to keep it firm so that no wire strands were sticking out here and there.

I used my Multimeter in the Ohms setting to check to see which terminals were cut off when the switch is activated and which are continuous for the earth wire.
Once that was sorted out it is simply a job of wiring it all up and putting it back together.

Above we can see that one side is wired up and the next thing to do is to wire the other terminals up with the wires matching in colour – Red to Red and Black to Black.
In this particular switch there is a small light and the wires go to the negative and positive terminals as well, so when current is flowing the light lights up to let you know that the switch is working and that whatever it is attached to is activated and working.
The thing to remember is to get the right parts for the job, for instance a switch that can handle the load.
The tools her are basic that I used like pliers, Philips screwdriver, but I did need a crimp tool to crimp the other two wires together.
While I was downtown this afternoon at the local Repco store they had a Crimp tool/Wire Stripper for about $40 for sale, but thankfully I had my own already.
This was a basic project but useful.
Please remember to double check your wiring, make sure that all screws are firm, and that the wires are all in the right positions before closing the switch up.
Always double check all your work before testing your project out.
I hope this simple project gives you some ideas for future projects of your own.
All the best from
James M Sandbrook.
19th of March, 2021.