Wairakei Place, Tokoroa.
Copyright © All rights reserved. Made by James Martin Sandbrook.
Abrev. Advice. Camera. Character. Children. Computing. Crosswords. Driving. Electronics. Fitness/Self Defence. Garden.
Health. Homeschooling. Housework. Idioms. Jokes. Kitchen/Cooking. Measure. Mechanics/Machines. Motivation. Movies. Music.
NZ. OOS/RSI. People. Personal Care. Poetry. Projects. Proverbs. Religion. Reviews. School Education. Skills/Hobbies. Slang.

Cable Joiners
We want to join two wires together “end on” in a clean and safe way.
Using a Cable Joiner we can do this and with relative ease.
It is not too complicated and gets the job done in a short period of time.
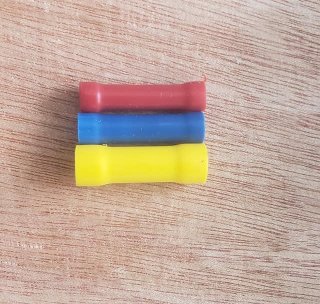
The best thing to do is to find a joiner that is the right size for the cable or reasonably close.
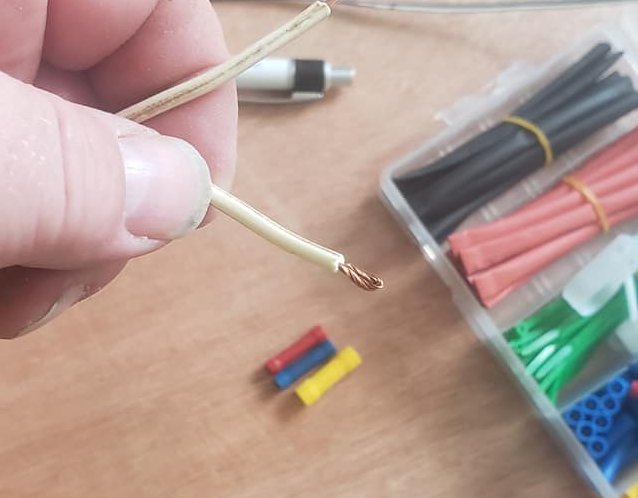
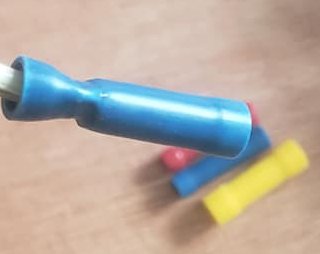
In the image above we can see 3 joiners with their different colours which you can possibly match with your wires colours.
If we need to we can cut the wire to make a clean join. This ensures that there are no messy ends to clean up.

Next thing to do is to strip the insulation away from the wire so that the bare wire
touches the metal cleanly inside the joiner. We don’t need to strip away too much
insulation because bare wire will then stick out of the joiner and that could cause
a “short”, blow a fuse, cause a fire and so on. Its better to do the job in a clean
and sensible manner and then it will last for many years saving you the effort of
having to come back now and then and redoing the job.
If we take pleasure in doing
the job right the first time we can relax and be happy that the join is done and
will not bother us for a long time to come.
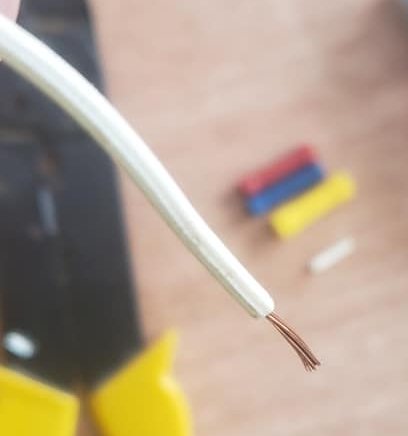
Here we see the wire with the insulation cut on the Left Above, and on the Right Above the wire is twisted by hand to stop fraying when the wire is inserted into the joiner.
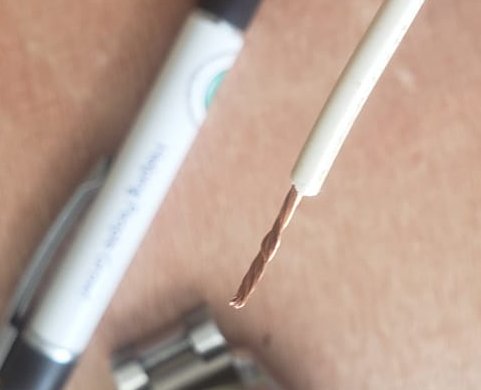
If the wire is a little bit thinner that the recommended size for the joiner some people recommend bending the bare wire over like we see here in the Photo Above. I have done this myself and have had no issues with it.
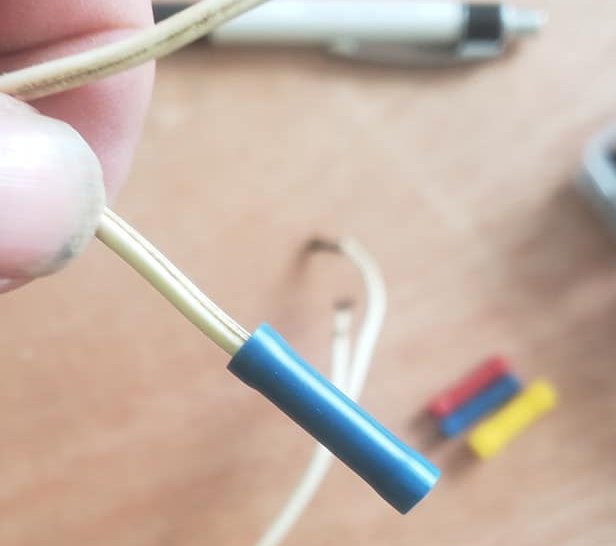
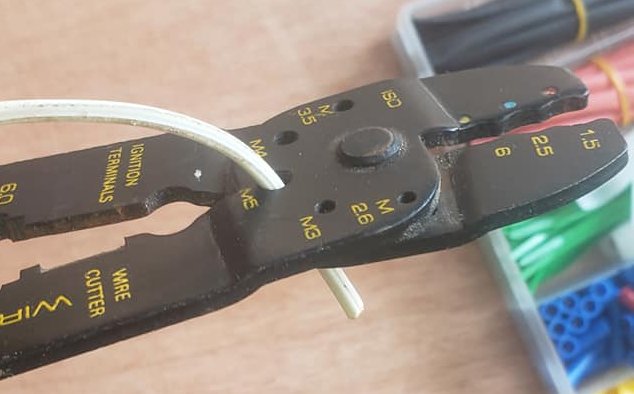
Next we can insert the wire, and it should be a good fit. And the next thing to do after that is use the Crimping Pliers or Crimping Tool to make the join secure. People sometimes use basic pliers for this job, but it is recommended that a Crimping Tool be used for safety. We don’t save money if we have to keep doing the job over and over again because it does not work the first time because we didn’t use the right tools.
Once we have the right tools we can use them over and over again through the years
pleased that the right tools do the job correctly and safely. It is worth the money
getting the right tools for the job.
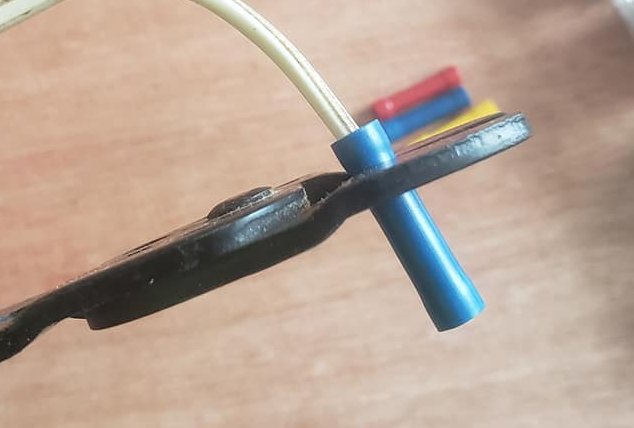
Using the Crimping Tool press on the handles firmly once it is lined up in the correct
place to crimp the joiner.
Try to make a clean-crimp indentation, practice makes
perfect as the saying goes. Give the wire a bit of a pull to see how well you did.
If the job is done correctly the wire cannot come out of the joiner, it will be a
firm connection. Next we do the same for the other end and we have a strong join
of the two wires together that will stay joined for many years. You can wrap electrical
tape around your Cable Joiner protecting the wires after the job is complete.
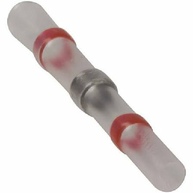
You can also buy “Heat Shrink Self-Solder Butt Splice Connectors” which don’t need to be crimped and they have soldier inside that melts the plastic heat shrink outside melts giving a secure waterproof join. A photo of one is shown above, please note the soldier rings in the center where the two wires meet when they are inserted into the joiner.
These are more expensive but can be very helpful in certain situations.
I hope you find this basic tutorial on using these tools and the Cable Joiners useful.
All the best from
James M Sandbrook.
23rd of March, 2021.

Abrev. Advice. Camera. Character. Children. Computing. Crosswords. Driving. Electronics. Fitness/Self Defence. Garden.
Health. Homeschooling. Housework. Idioms. Jokes. Kitchen/Cooking. Measure. Mechanics/Machines. Motivation. Movies. Music.
NZ. People. Personal Care. Poetry. Proverbs. Religion. Reviews. School Education. Skills/Hobbies. Slang. Stories.